

Guide on How to caulk Bathroom tub, fixture, shower, tile, vanity, and showertop.
Maintenance and repair tasks are regular occurrences in every home. If you observe cleanliness and orderliness in your home, you will provide quick action to these tasks. One specific task you need to pay attention to is caulk replacement in your bathroom though this is something that most people tend to ignore.
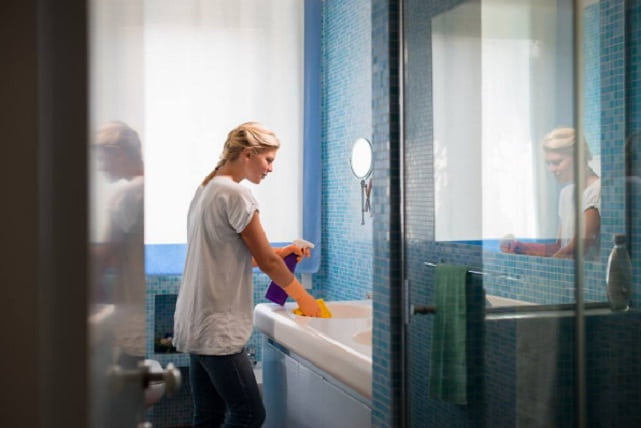
Caulk Bathroom Tub
Here are some signs that indicate your bathroom already needs caulking:
- When caulking becomes soft, mushy, dry, or brittle, and shows some cracking
- When discoloration and mold are visible near the sealant
- When some portions of caulk are damaged or missing
You can prevent further moisture damage in your fixtures if you take immediate action once you notice any of these indications or signs.

There are a lot of brands of silicone caulk used in the bathroom today. Of course, you want to ensure that the silicone caulk you buy is moisture- and mildew-resistant and designed for bathroom use.
Bathroom silicone caulk is available in different colors to give the customers more variety to choose from. There are even grouted bathroom caulks available in some tile supply stores which are specially designed to match the combined tile grout. To achieve a more pleasing and professional look of your bathroom, choose a type of caulk that is less evident and matches the bathroom’s settings.
Follow these instructions to caulk bathroom properly –
- Before you apply a new caulking, you need to remove your old caulking using a plastic putty knife or a screw driver. You can soften it using a heat gun or other materials to remove the scraps.
- After removing the old material, sweep the place to have a clean working area. You can also use a cleaner that destroys mildew. It is important to clean the crack you are going to caulk with alcohol so that the new caulk will bond properly to the surface.
- Use a tape to make sure that caulking is fixed firmly on your preferred area.
- Put the new caulk with a caulking gun and start working on a small area first. You just have to be extra careful in doing this; otherwise, repairing it means more work.
- After you have completed that area, moisten your finger and use it to smooth the caulk. Make sure that you take the tape away before the caulk starts to dry.
- Clean the area and let the caulk dry.
Also Read other AdvicesAcademy Home Tips –
- 10 Best Gardening Tools
- Home Accessories Online
- Best Master Bathroom Design Ideas
- Best Sanitary Ware Brands
- Repair Bathroom Cabinets
So, that was a simple guide on how to caulk bathtub and showers.