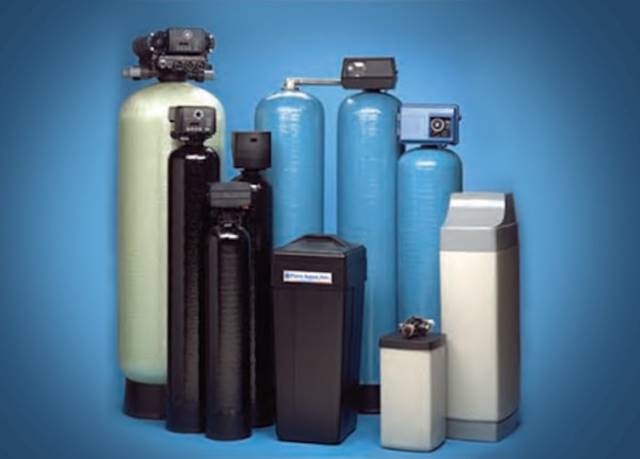
Hard water can cause damages not only to your appliances but to your skin, hair and other organs. Hard water contains a high amount of minerals from which many of them are not required. If you are having hard water running through pipes, then you must be worried about the life of the appliances and your health as well. In this guide, we will let you know the process to soften the hard water. The DIY guide will help you to install the system on your own with no technical requirements.
What is a Water Softener?
A Water Softener is a unit to softener the hard water running through your pipes. The system removes excessive minerals from water that causes the water to hard. Hard water is very dangerous to a human body as well as the appliances of your home.
To soften the hard water in your home, there are numerous types of Water Softeners available in the market. The best thing about the water softener system is it lets you easily install the system.
Nowadays, you can also get a water softener and filter combo, which not only softens your hard water but also purifies it for drinking. You can easily replace the used filter with a new one simply by twisting the cylinder.
DIY Water Softener Installation
Depending on the type of system, the location where you intend to install the system, the installation of the Water Softener system may vary. If you haven’t heard about the water softener system, we recommend you to hire a professional installer who knows everything about the system and its parts. However, with a little bit of knowledge and by following the basic tutorials, you can simply install the DIY Water Softener system in your home.
Water Softeners are high in demand as people have started worrying about plumbing issues caused by hard water. Top water softening systems reviewed here for new buyers who don’t know anything about the actual functionality of a Water Softener and how to select a proper unit for their homes.
The following step by step installation guide will help you to install the water softener system in your home with no technical requirements.
How to Install a Water Softener?
Every water softener system that you buy comes with all the useful instructions. You can follow the given instructions while installing the water softener system. Salt-based water softening system is a highly recommended and most used water softener system.
Here, we have provided all the steps to install the salt-based water softener system in your home.
Tools and Materials Required to Install the Water Softener System
- Teflon tape
- Pipe cutters
- Pipe wrench
- Gate valves
- Tee valves
- Copper tube
- Flexing tube
- PVC Solvent
- Compression fittings
- Torch
Most of the components and tools are included in the box along with the main water softener system. However, it is essential for you to have all the useful and must-required tools and components for the perfect installation of the system.
Step 1:
Shut off the main valve of the main water pipe that flows water in different rooms, kitchen, and bathrooms. Make sure that the pipes are empty, turn on the lowest tape to empty all the pipes.
Note: If you have installed hot water geyser or any other electric equipment, make sure to shut them off or disconnect them from the main electric source.
Step 2:
Locate the area where you want to install the water softener on the main water pipe.
Step 3:
Cut down the main water pipe using a pipe cutter.
Step 4:
Once you cut down the main water pipe, install an elbow fitting. You can install the softener with this valve from where the soft water starts flowing up.
Step 5:
Cut down the pipes as per the requirements. Make sure to solder the pipes and other equipment. Solder them properly before installing them to the main bypass valve.
Step 6:
Now, take compression fittings to attach the pipes with the main water softener.
Step 7:
After this, clamp the main hose properly to the system. Make sure you attach the main hose as per the supply requirements.
Step 8:
You also need to connect it to the overflow tube. You can follow the user manual instructions to measure the required level of height.
Step 9:
Remove debris and dirty water from the main valve by turning on the valve.
Step 10:
Turn on the Water Softener Unit, make sure you set the main valve to the backwash position.
Once the system is installed properly, you need to slowly turn on the valve to release the air stored in the pipes.
That’s all you have to do! You have successfully installed the Water Softener system in your home. Make sure you follow the user manual where you will be guided with step by step instructions with the layouts and drawings of the components and the system. You can follow the given instructions which can make the main installation process easier.

